Learning how to build your first gaming PC is one of the most rewarding projects you can take on as a gamer. Not only do you get a system tailored to your preferences and budget, but you also gain a better understanding of how your machine works. Whether you’re a competitive player looking for high frame rates or a casual gamer who wants smooth performance, learning how to build your first gaming PC gives you control, flexibility, and long-term value.
Unlike prebuilt systems, assembling your own setup ensures you’re not paying extra for flashy branding or unnecessary features. It’s also easier than it might seem. With the right guidance, even someone who’s never opened a PC case before can build a powerful gaming machine at home.
Quick Look: What You’ll Learn in This Guide
- Understand why building your own gaming PC is better than buying a prebuilt
- Learn what parts you need and how to pick the right ones
- Step-by-step assembly instructions to build your first gaming PC confidently
- Tips for setup, testing, and keeping your system running strong
Why Build a Gaming PC Instead of Buying One?
It’s easy to walk into a store or click “add to cart” on a prebuilt system. But many of those come with inflated prices, limited upgrade options, or underperforming parts. When you build your first gaming PC, you choose every component, from the graphics card to the power supply, so you get the performance you want without compromise.
This also means your budget stretches further. For the same price as a prebuilt system, you’ll likely end up with better specs and better cooling if you build it yourself. Plus, there’s a certain satisfaction in powering on a machine you assembled with your own hands.
Some gamers say the process reminds them of building LEGO sets as a kid, except instead of a toy spaceship, you end up with a powerhouse ready for titles like Elden Ring, Valorant, or Cyberpunk 2077.
Picking the Right Parts to Build a Gaming PC: What You Need and Why It Matters
Before you start putting anything together, you’ll need to gather your components. Think of these like the organs of your PC, each one plays a specific role, and they all need to work together.
CPU (Central Processing Unit)
This is your system’s brain. If you’re gaming and streaming, go for at least a mid-tier CPU like an AMD Ryzen 5 or Intel i5. These offer a great balance of speed and cost.
GPU (Graphics Processing Unit)
The graphics card is the heart of any gaming build. It handles everything from character models to detailed environments. A solid choice for a first-time builder might be an NVIDIA RTX 4060 or AMD Radeon RX 6700 XT, powerful enough for most games without breaking the bank.
Motherboard
Think of this as the system’s foundation. It connects all the parts and lets them communicate. Make sure it’s compatible with your CPU and has the ports you need.
RAM (Memory)
For gaming, 16GB of RAM is ideal. It helps your system run smoothly during intense matches or when multitasking.
Storage
Most gamers choose a combination: a fast Solid State Drive (like 1TB) for games and Windows, and a larger hard disk drive (like 2TB) for backups and media files.
Power Supply (PSU)
Don’t cut corners here. Get a reliable PSU with enough wattage for your GPU and CPU, ideally from a reputable brand. Modular PSUs make cable management much easier.
PC Case
Pick one that fits your parts (check for ATX, Micro-ATX, etc.) and allows good airflow. Bonus points if it has a clear side panel so you can show off your hard work.
Cooling System
Stock coolers are often fine, but if you’re planning to overclock or want quieter performance, look into aftermarket air or liquid coolers.
Operating System
Most gamers use Windows for its compatibility with games and drivers. You can buy a license or install Windows and activate it later.
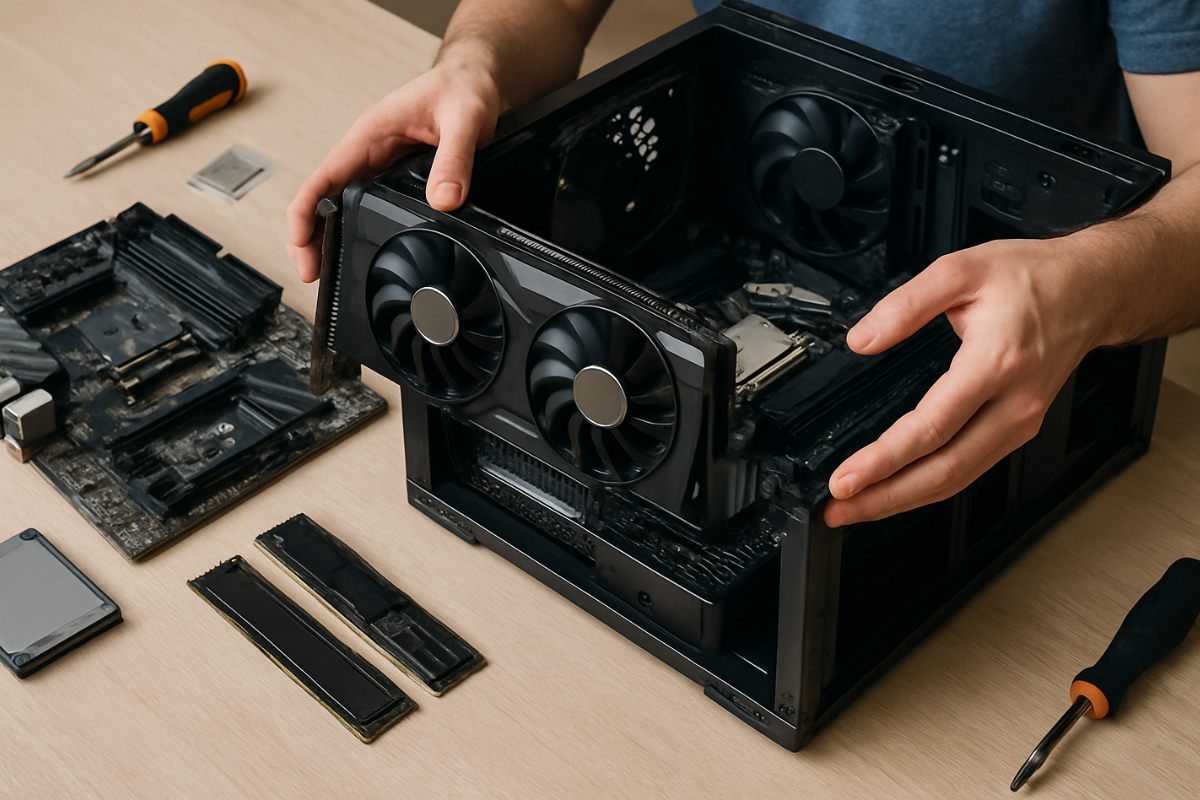
How to Build Your First Gaming PC Step by Step
Assembling your first gaming PC might seem intimidating, but it’s actually a lot more straightforward than it appears. This step-by-step guide will walk you through each part of the process, so you can build your first gaming PC with clarity and confidence.
Start with a clean, static-free workspace
Avoid building on carpet. Lay your components out on a table and ground yourself by touching a metal part of your case before handling anything sensitive.
Install the CPU into the motherboard
Gently lift the CPU socket lever, align the chip with the marked corners, and place it in. Don’t force it. Once it’s seated, lower the lever to lock it in place.
Attach the RAM
Line up the notch and push the sticks into the RAM slots until you hear a click. Make sure they’re installed in the correct configuration for dual-channel performance.
Mount the cooler
If you’re using the stock cooler, it usually snaps in place. Don’t forget to apply thermal paste if it’s not pre-applied.
Place the motherboard into the case
Align the board with the standoffs inside the case. Secure it using the screws provided.
Install the PSU
Slide it into the power supply slot (usually at the bottom) and screw it into place. Don’t connect cables just yet.
Install your GPU
Insert the graphics card into the correct PCIe slot on your motherboard. Secure it to the case with screws.
Add storage drives
Mount your solid-state drives or hard disk drives into their brackets. Connect them to the motherboard using SATA cables, or plug M.2 drives directly onto the board.
Connect the cables
This includes:
- 24-pin motherboard power cable
- 8-pin CPU power cable
- PCIe power cable to GPU
- SATA power to storage
- Case fans and front panel connectors
Cable management may feel tedious, but taking the time to route everything neatly helps with airflow and makes your build look clean.
Boot it up
Double-check your connections, then plug in your monitor and keyboard. Press the power button. If everything lights up, you’re on the right track.
Gaming PC Build: What to Do After You Power the PC On
If your screen stays black, don’t panic. Go through a quick checklist:
- Are all cables fully seated?
- Is the GPU properly connected?
- Did you plug your monitor into the graphics card, not the motherboard?
Once you see the BIOS screen, you’re ready to install your operating system using a USB drive. Follow the prompts, get Windows installed, then update your drivers and install your games.
This is the moment where all your effort pays off, your machine is now game-ready.
How to Keep Gaming PC Running Smoothly After You Build It
Building your PC is just the beginning. Keeping it in top shape means occasional cleaning, updating software, and monitoring temperatures. Dust can build up in fans and filters over time, so a quick cleanup every few months helps keep your system cool.
If you ever want to upgrade, say, a new GPU or more RAM, you now know how. That’s the beauty of learning how to build a first gaming PC: you’re no longer at the mercy of tech jargon or overpriced setups. You’re in control.
Why Your First Gaming PC Build Matters More Than You Think
There’s something personal about building a gaming PC. It’s more than just plugging in parts, it’s a project where you learn, make mistakes, and feel the thrill of success when everything runs just right. Your system becomes a reflection of your choices, your needs, and your style.
Whether you’re jumping into AAA titles or testing out indie games, your custom-built rig is ready to handle it all. And that confidence you feel from building it yourself? That sticks with you. It turns gaming from just a hobby into something deeper.
Your journey to build first gaming PC starts with curiosity, but it ends with knowledge, pride, and a machine built by you, for you.
Related Posts
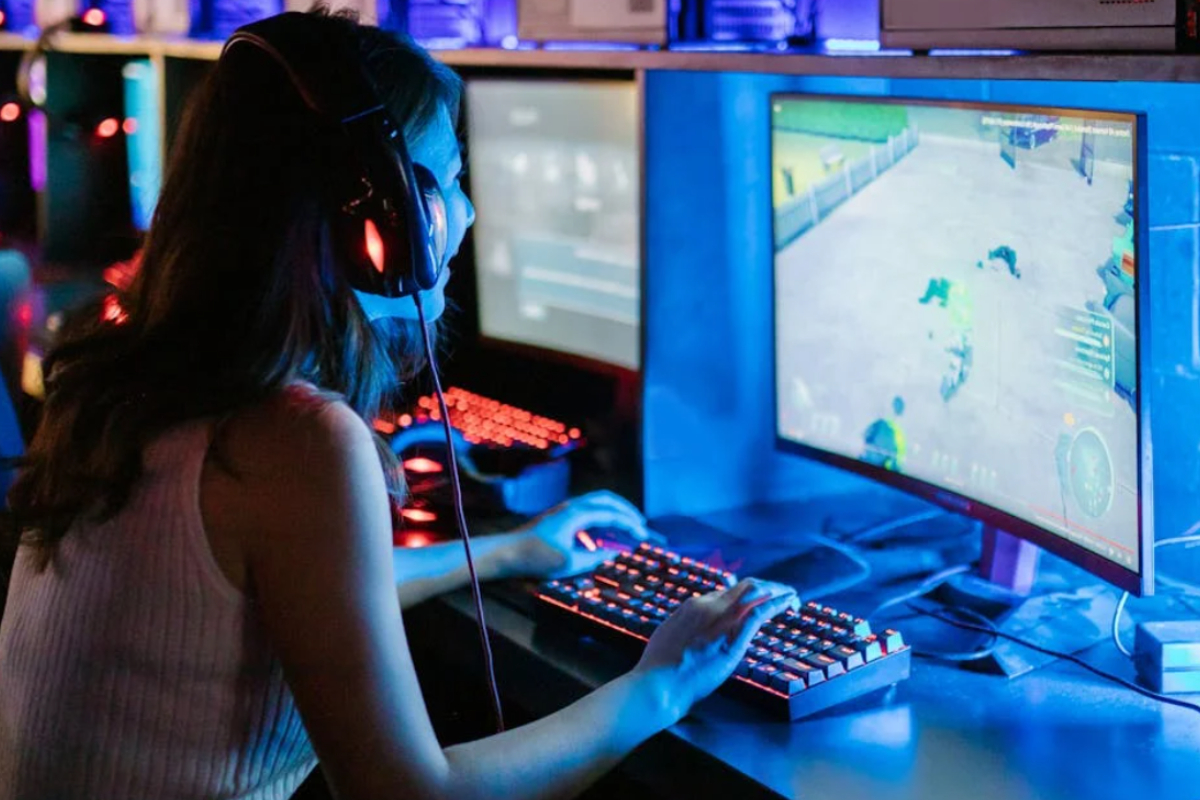
PC Game Settings That Improve FPS and Reduce Lag
Adjusting your PC game settings is key to improving your gaming experience, as nothing is more frustrating than low FPS (Frames Per Second) and lag. Properly configuring the settings ensures smooth and fast gameplay. By adjusting the right settings, you…
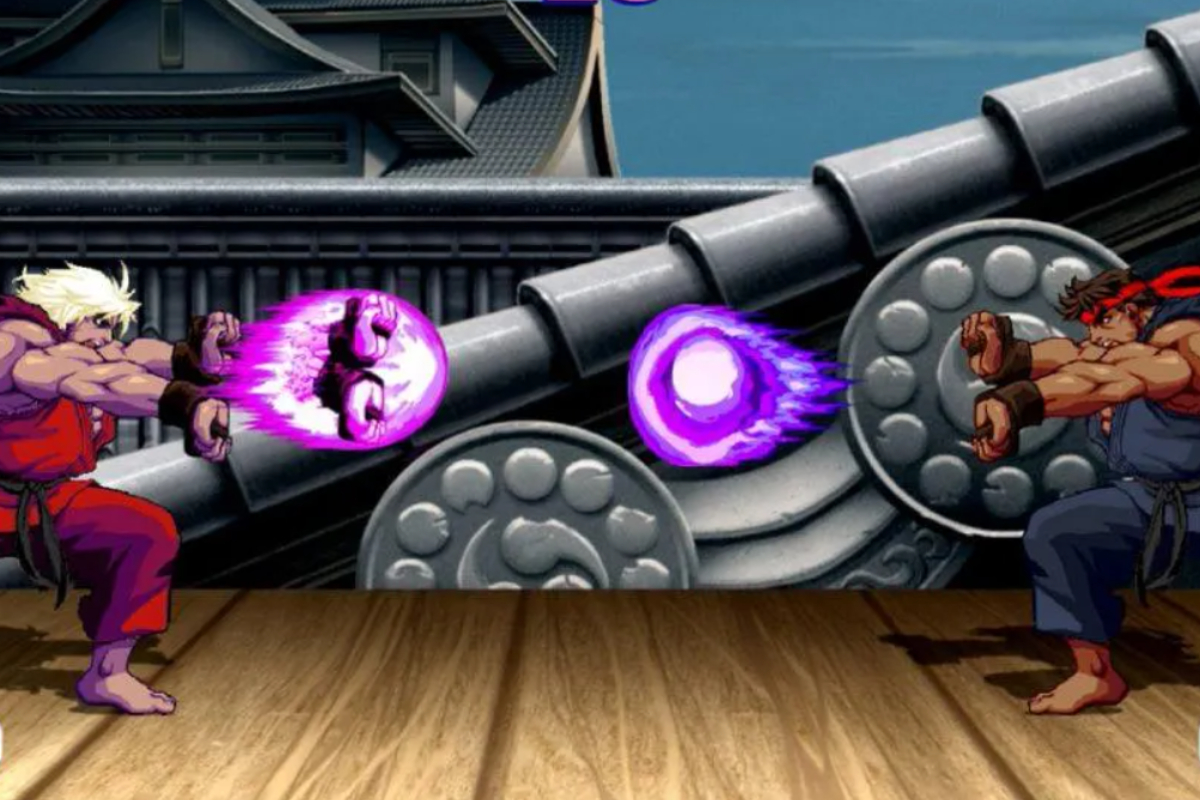
How to Read Opponent Movements in Fighting Games
In the fast-paced world of fighting games, mastering the ability to read opponent movements can be the key to victory. Whether you are an experienced player looking to refine your strategy or a beginner aiming to level up, understanding your…
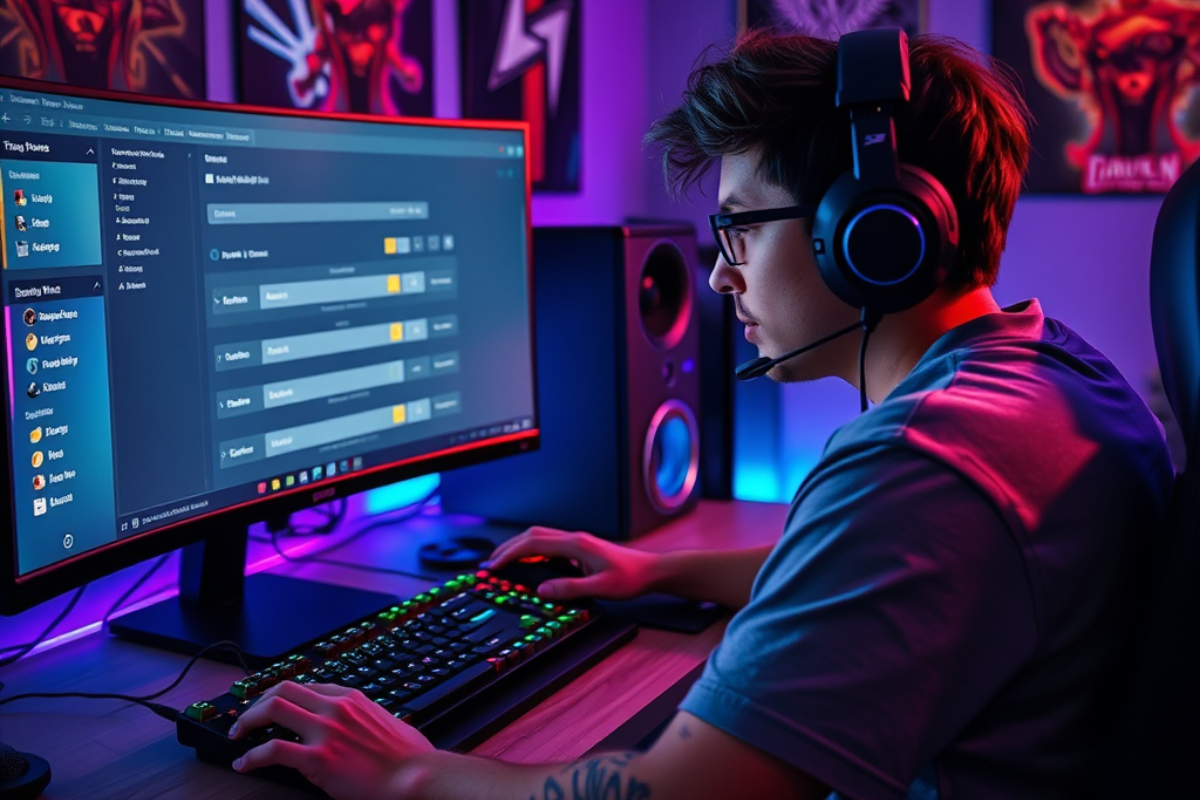
How to Set Up Keybinds for Faster Gameplay
For players who want to improve their skills and achieve the highest level of success, keybinds, or the proper arrangement of keys on the keyboard for faster and more efficient gameplay, are essential. Keybinding, or the process of assigning keys…